Surface roughness of the plate
Author: Date:2025-04-19 Browse Volume:109 timesThe surface roughness of the plate refers to the microscopic unevenness of the plate surface. It is an important indicator for measuring the surface quality of the plate, and has a significant impact on the performance of the plate and its subsequent processing and applications. The following is some specific information about the surface roughness of the plate:
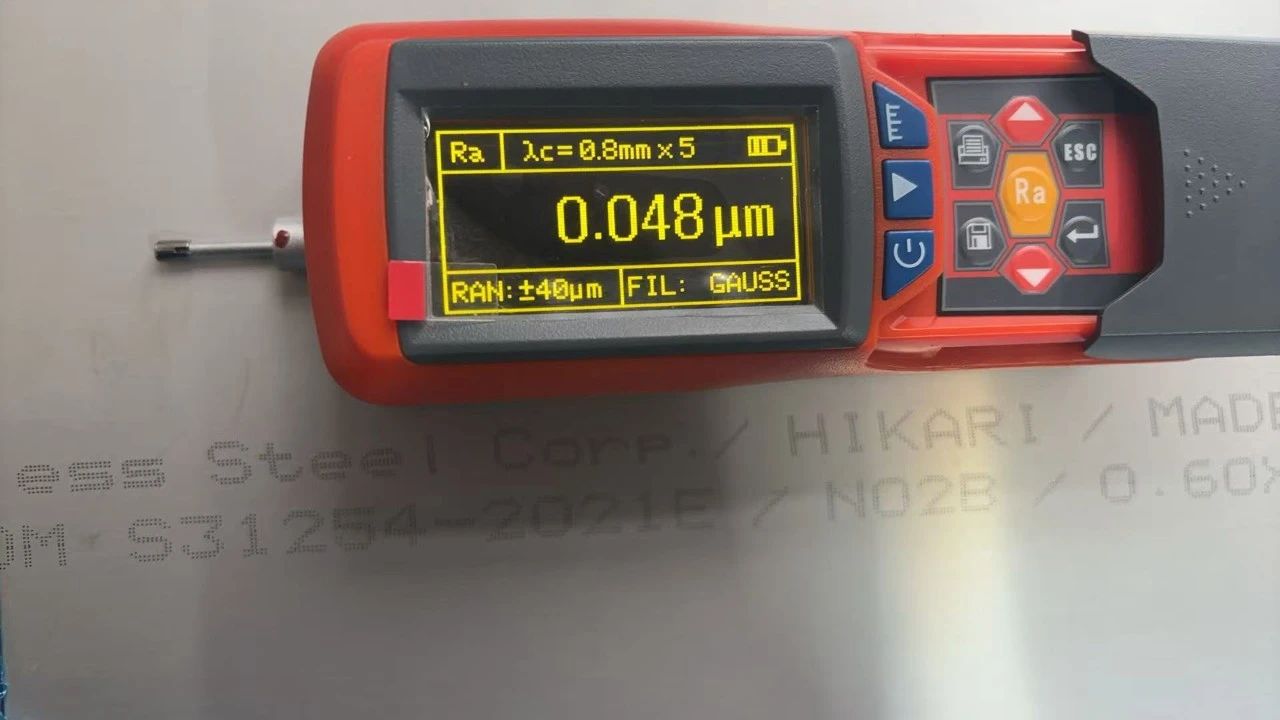
1. Evaluation Parameters - 01 Arithmetic Mean Deviation of the Profile (Ra) Within the sampling length, it is the arithmetic mean of the absolute values of the profile offsets. It can comprehensively reflect the characteristics of the surface microscopic geometric shape and is the most commonly used evaluation parameter. For example, the Ra value of a plate processed by ordinary machining may be between 1.6 - 6.3μm, while for a plate that has been finely ground or polished, the Ra value can be as low as 0.1 - 0.8μm.

- 02 Ten-point Height of Micro-irregularities (Rz)
Within the sampling length, it is the sum of the average value of the five largest profile peak heights and the average value of the five largest profile valley depths. The Rz value more intuitively reflects the changes of the peaks and valleys on the surface and is often used in some situations where high requirements are placed on the surface contact stiffness and wear resistance. For example, the Rz value of wear-resistant plates is usually required to be within a certain range to ensure their good wear resistance.
- 03 Maximum Height of the Profile (Ry)
Within the sampling length, it is the distance between the profile peak line and the profile valley bottom line. The Ry value is mainly used to evaluate the maximum undulation degree of the surface microscopic geometric shape. For some plates that bear high stress and where the problem of stress concentration needs to be considered, Ry is an important reference parameter.
2. Influencing Factors
- 01 Plate Material
The surface roughness of plates of different materials varies. For example, among metal plates, stainless steel, due to its uniform texture and high hardness, can obtain a relatively low surface roughness after processing.
- 02 Processing Technology
This is a key factor affecting the surface roughness of plates. For example, the surface roughness of plates produced by the rolling process is usually relatively large; while the surface roughness of plates treated by fine processing technologies such as grinding and polishing will be significantly reduced. In addition, cutting parameters and the degree of tool wear during the processing process will also have an impact on the surface roughness.
- 03 Surface Treatment
Performing surface treatment on the plate, such as spraying, electroplating, electroless plating, etc., will also change its surface roughness. Generally speaking, after these treatments, a uniform coating or plating layer will be formed on the plate surface, making the surface smoother and reducing the roughness.
3. Measurement Methods
- Stylus Method
A diamond stylus is gently drawn across the surface of the plate, and the vertical displacement of the stylus is measured through a sensor, thereby obtaining the value of the surface roughness. This method has relatively high measurement accuracy and can measure multiple parameters, but the measurement process is slow, and it may cause slight damage to the plate surface.
- Light-section Method
Based on the principle of light-section, a parallel light beam is projected onto the surface of the plate at a certain angle, and the surface roughness is calculated by measuring the reflected light of the surface profile. This method is non-contact and will not damage the surface, but the measurement accuracy is affected by the stability of the light source and the accuracy of the optical system.
- Interference Method
Using the principle of light interference, a beam of light is divided into two beams. One beam irradiates the surface of the plate, and the other beam serves as a reference light. The fringes formed by the interference of the two beams of light can reflect the microscopic undulations of the surface, and then the surface roughness can be calculated. This method has high measurement accuracy and can measure tiny surface changes, but the equipment is complex and the requirements for the measurement environment are relatively high.
The differences between genuine imported products and domestically produced narrow metal-rolled strips.
Next:The Relationship between the Residual Stress of Steel Coils and the Flatness of Coiled Materials


